Starting the job -- Overview:
(photos to come ...)First ...
- Make sure all seacocks are closed!
- Put oil and coolant absorbing materials under the engine. Prepare for spills!
Then ...
- Drain both the coolant and oil from the engine. Remove oil filter.
- Disconnect batteries
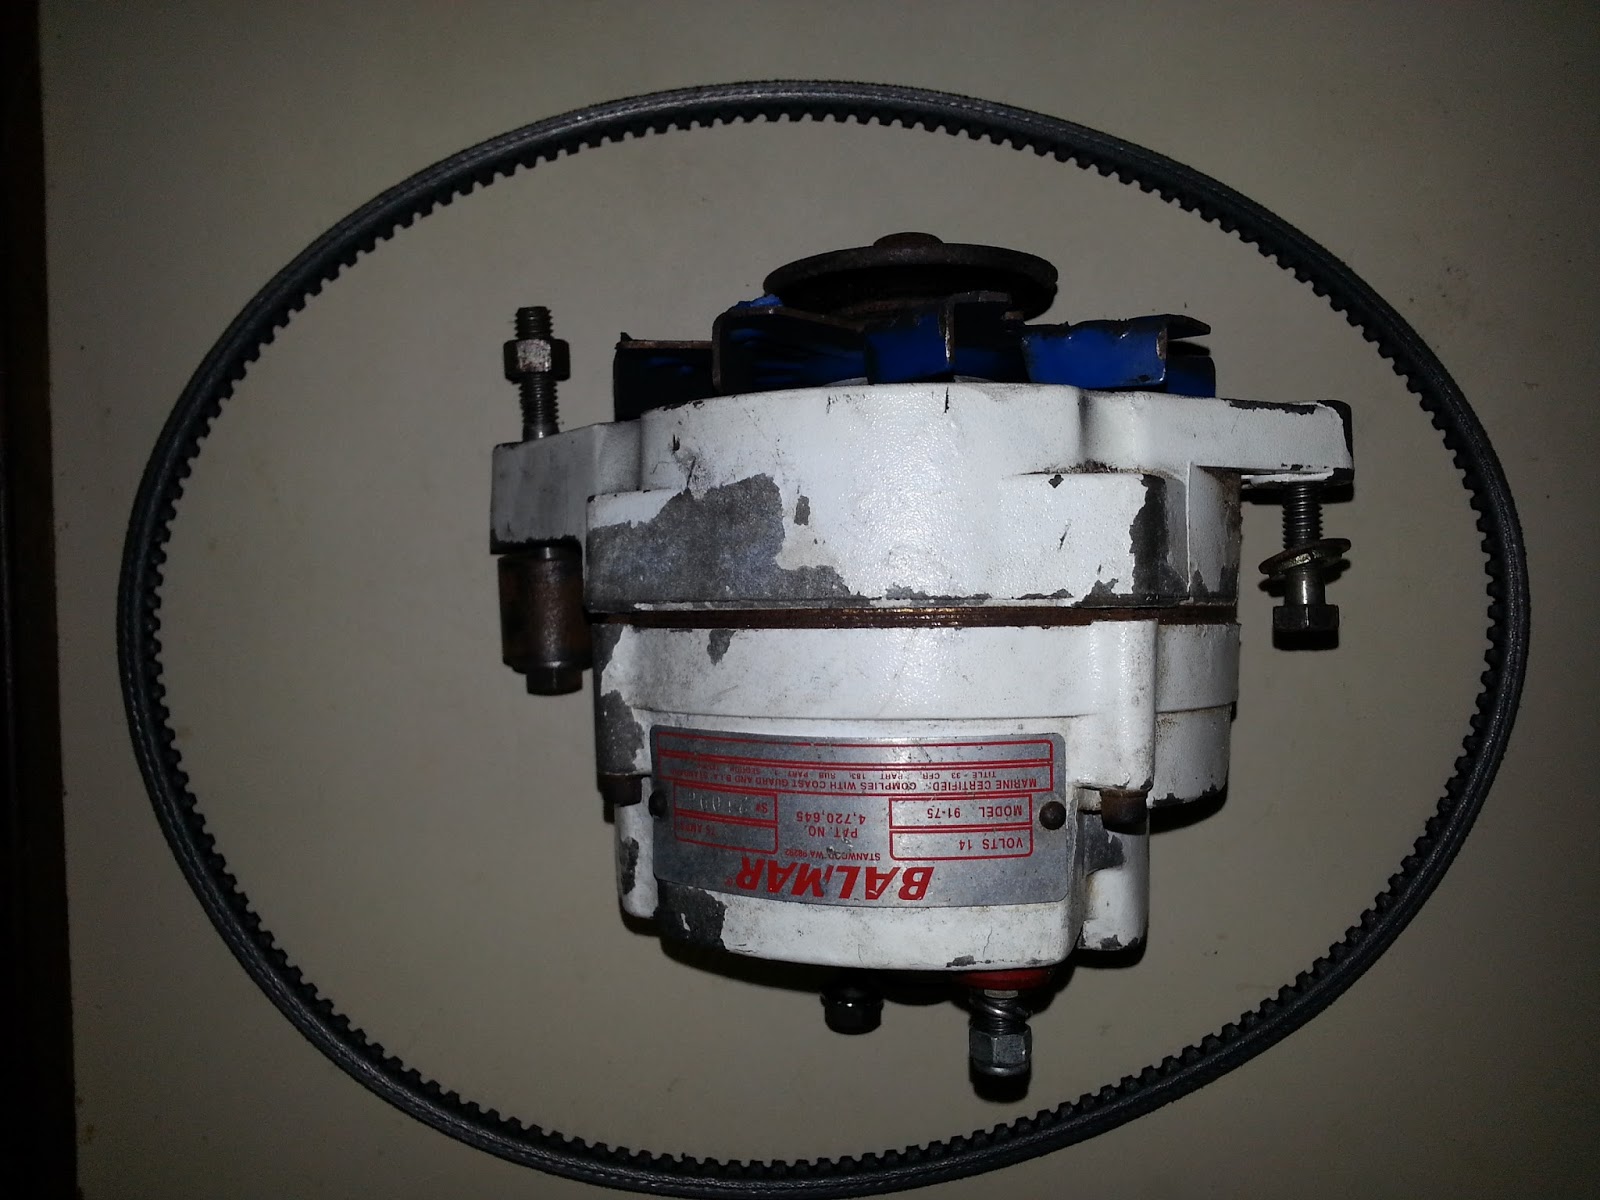
- Remove alternator and belt
- Remove Air breather/filter
- Remove coolant hose from lower right side of front case
- Remove small coolant hose from internal water pump
- Remove hose from raw water pump to heat exchanger
- Remove hose from seacock to raw water pump
- Remove crankshaft pulley
- Remove throttle linkage from speed control
- Unbolt speed control panel on top of case and access cover on left side of injection pump
- Remove two springs from speed control group
- Remove speed control group
NOTE: The internal water pump and the raw water pump can be left on the front cover. The only part, other than bolts and the hoses mentioned above, that connect the front cover to the engine block are the two springs on the speed control plate.
Details
- I assume you know how to drain the engine oil and coolant and remove the oil filter.
- The batteries should be disconnected so you don't short out the alternator or regulator when disconnecting the alternator leads. Otherwise removing the alternator and belt is straightforward. As always tape and label the leads if you think you will not remember where they attach to the alternator.

Alternator, bolts and belt

Air breather/filter assembly - Removing the air filter/breather is as simple as disconnecting the hose to the air intake on the engine block.
- Removing the coolant hose from the water pipe on the right side of the engine is largely uneventful. If you have a water heater connected to your coolant system this hose may spill coolant so be prepared to catch any spills.
- The short hose that connects the engine block to the internal water pump may leak a bit as well.
- Both hoses connected to the raw water pump will leak sea water. No worries.
- Ah, the crankshaft pulley ... this can be a bear. The nut holding the crankshaft pulley is huge -- 46mm. Kubota makes a special deep well socket for the nut if you want to spring for it. Otherwise you may have to fabricate your own. In my case the nut came off easily by tapping a corner of the nut with an old screwdriver and hammer.
- Behind the nut is a washer. Remove it as well.
- You will need a gear puller to remove the pulley as it is on a tapered shaft. Do this gently especially if the pulley has not been removed in the past 30 years or so.
- Once the pulley is off you should see the black oil seal around the exposed end of the crankshaft. This seal is inserted in the front gear cover and will come out with and when the cover is removed.
- The speed control panel is attached with four nuts/bolts on the top of the front gear case. It has a spring loaded lever on top. The linkage is connected with a small nut attached this lever.
- The front left and rear right nuts on the speed control panel are attached to studs that are inserted in the front gear case. The remaining two are bolts that will come out of the case. The access panel is located on the top left side of the engine. It should have a warning label attached to it.
- Do NOT force the speed control panel when removing it. There are two small springs, one attached to the lever on the speed control panel and a smaller one attached to an internal stud on the front gear case. At this point you only need to remove the larger spring attached to the lever on top of the speed control panel. I found this easiest to do by by gently lifting the panel off the studs and using a pair of angled pliers to get at the point where the spring attaches to the lever. I left the spring attached to the linkage in the engine block. Do not stretch or otherwise damage this spring or you will have to replace it.
- Once the spring has been removed the speed control panel and gasket can be removed. Look in the hole you just created in the top of the front gear cover and you should see the smaller spring on the right side. It is easy to get to now.
- Now that you have removed all these bits, you are ready to remove the front gear case.

 |
| Crankshaft pulley, nut and washer |
 |
| Speed control panel, bolts, nuts to studs, gasket and small spring. |
 |
| All bits removed and front case is ready to be unbolted. |

